
Preparation to Beat Giovani in Pokemon Go For Oppo A1x 5G | Dr.fone
Preparation to Beat Giovani in Pokemon Go For Oppo A1x 5G
Are you ready to defeat Giovani effortlessly in Pokemon Go? Keep reading.
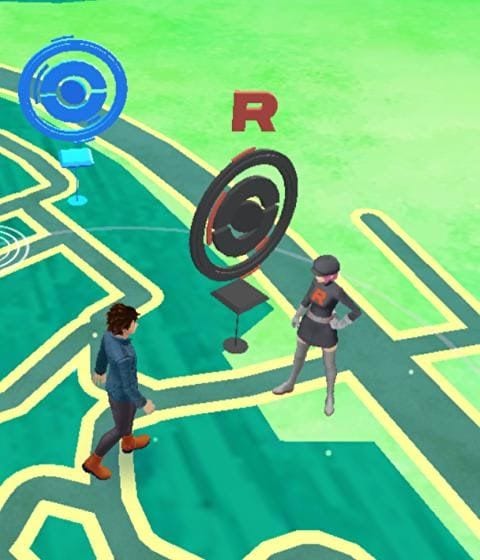
Giovani is the grand commander of the Team Go Rocket crime syndicate. The big boss appears stronger every month as he also changes his lineup of creatures monthly. This means your lineup of Pokemon Go Giovani counters would have to change subsequently. So how do you know the best Giovani Pokemon Go counters to use against the Team Go Rocket boss when next you meet him? Well, that’s left for this guide to answer. Here you will learn about how to defeat this monster and how to find him. Without wasting your time, let’s start with how to find Giovani in Pokemon.
Part 1. How to Find the Giovani in Pokemon
Locating Giovani’s hideout is never a walk in the park as you need to complete some daunting tasks. A detailed explanation of each task is given below:
1. A Troubling Situation Task
This four-step storyline Special Research task introduces players to the Team Go Rocket Invasion and Shadow Pokemon feature in the Pokemon Go game. Players leverage the task to learn how to stop the Team Go Rocket crime syndicate by reclaiming PokeStop and then purifying Shadow Pokemon.
How to Complete ’A Troubling Situation’ Task in Pokemon Go Giovani
Below you will find all the four steps you need to complete in the ‘A Troubling Situation’ task with their rewards:
Pokemon Go: A Troubling Situation Step 1
This step should be completed with ease since you aren’t new to the Giovani Pokemon Go game. Just evolve any two Pokemon that you own and then charge them up five times. And boom! You are done with this step.
Reward: 1,000 Stardust and 2,000 XP
Pokemon Go: A Troubling Situation Step 2
For this step, you have to catch two shadow Pokemon which can be achieved by defeating two Grunts from Team Go Rocket. On killing them, they will leave some shadow Pokemon behind which you have to catch. After that, go ahead and defeat the last Grunt to complete this step.
Reward: 2,000 Stardust, 2,000 XP, and 5 Golden Razz Berries
Pokemon Go: A Troubling Situation Step 3
After catching the shadow Pokemon in step 2, you need to catch one more to cleanse or purify the three of them. To do this, just tap on your shadow Pokemon, and then hit the Purify option. You will be charged some thousands of Stardust and a couple of candy for the shadow Pokemon.
Rewards: 2000 Stardust, 5 Silver Pinap Berries, and 1 Rare Candy
Pokemon Go: A Troubling Situation Step 4
For this step, you’ve got nothing to do. All three objectives have been automatically completed for you when you finished the previous step. You only get rewards at this final step.
Rewards: One Fast TM, One Charged TM, and 3 Rare Candies
2. Giovani Special Research Task
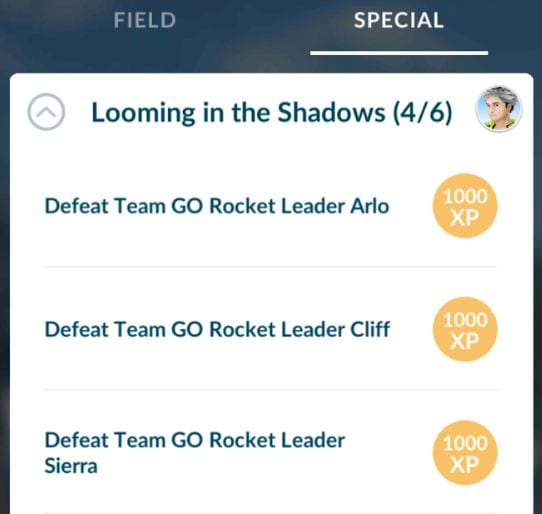
After completing the quest above, Giovani Special Research or Looming in the Shadows is the next and final quest you have to complete to face Giovani. It’s a six-step Special Research that introduces the Team Go Rocket Grunts and Leaders: Cliff, Arlo, and Sierra.
On completing one research step, you will be given a reward called the Super Rocket Radar. Like the Rocket Radar, the Super Rocket Radar can be equipped and unequipped from your Bag. This reward doesn’t only show Giovani’s hideout, it also shows some of his Grunts hideouts.
 The Tube Sites Submitter is a fast and efficient tool for anyone who needs to upload videos quickly, easily and automatically to hundreds of tube sites in mere minutes .
 Part 2. What does the Pokemon Go Giovani Counter Contain?
Giovani remains the toughest beast amongst all the Team Go Rocket Leaders. When you find him in the game, be prepared to face his wrath. To defeat him, you need a powerful team.
The big boss choice of legendary Shadow Pokemon and second party members changes every month- the Pokemon you fought against the previous month will be different from that of the present month and thereafter.
Giovani’s lineup of creatures for October 2022 is shown below:
| Lineup of Creature | Pokemon |
|---|---|
| First | Persian |
| Second | Kangashkan, Nidoking, Garchomp |
| Third | Mewtwo |
For the Pokemon, Persian, and Kangashkan, try to have a Lucario, Conkeldurr, or Machamp in your team and you are good to defeat them.
When you encounter Nidoking or Garchomp, your team has to change. You will need to have a strong ice-type Pokemon on your team. The reason is that this new Lineup of creatures is strong on land and could cause substantial damage to the dragon-type Pokemon in case you wanna choose them.
Picking any of these great ice-type Pokemon, Mamoswine, Glaceon, or Weavile when you face Nidoking or Garchomp is a perfect choice. However, we recommend Mamoswine, because he isn’t just an ice-type Pokemon but also a strong ground-type Pokemon.
Once you defeat Team Go Rocket’s second lineup creatures, you will have to battle against the legendary psychic Pokemon, Mewtwo, who is weak to this set of Pokemon; bug, ghost, and Dark-type Pokemon. So beating this Pokemon Go Giovani grunt shouldn’t be a tedious task as you’ve got a plethora of choices when deciding the Pokemon-type to use. Origin Giratina and Tyranitar are some strong Dark-type Pokemon you can use to defeat Mewtwo.
Now you know the best Giovani Pokemon Go counters to use against each lineup of creatures, leverage it to advance to the next phase of the game where you will face the big bad boss himself, Giovani.

Part 3. Tips to Beat Giovani in Pokemon Go

Just as you did against Team Go Rocket Leaders, Arlo, Cliff, and Sierra, you need a Pokemon stronger than two of Giovani’s. With that, you can use the same Pokemon twice, thereby keeping your choice for Legendary Shadow Pokemon safe till you need it to beat Giovani.
Mind you, the big bad boss, Giovani has two Protect Shields at his disposal so you have to be careful while fighting against the monster. We implore you to start your game with a Pokemon that has a Charged move so you can charge as fast as possible.
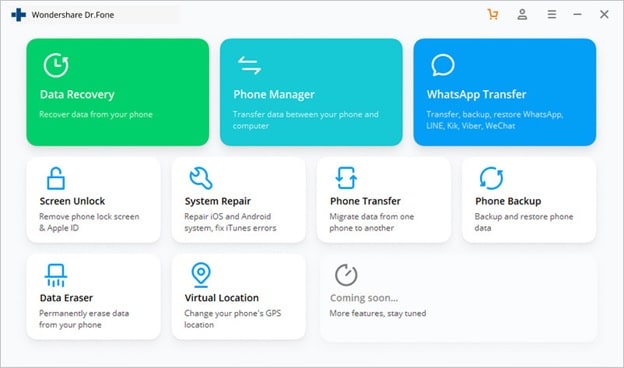
Getting a strong Pokemon won’t come with ease, however, with the use of Dr.Fone- Virtual Location you can achieve this. The handy software is designed to help you spoof your iOS device location so you can catch any strong Pokemon of your choice remotely.
Key Features
- With just a single click you can spoof your iPhone GPS location
- The application allows you to simulate GPS movement at your comfort
- It saves your location automatically in the database
- Provides full-screen HD map view
- Easily enter your target location name, address, or the exact coordinate on the application with a joystick
Guide to Use Dr.fone Virtual Location to Get Stronger Pokemon in Giovanni Pokemon Go
Step 1: Firstly, you have to download and install a compatible version of Wondershare drfone virtual location on your PC. Wait for the installation to complete, then run the application.
Step 2: The interface above will appear on your screen. With the aid of a lightning cable, connect your iPhone to a PC, then click on the Virtual Location icon. A new interface will pop up as shown in the image below

Click on Get Started to change your location.
 Software Update Pro - Check and update software installed on your computer.

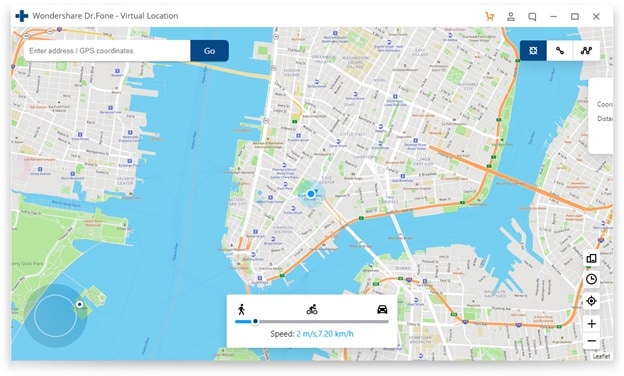
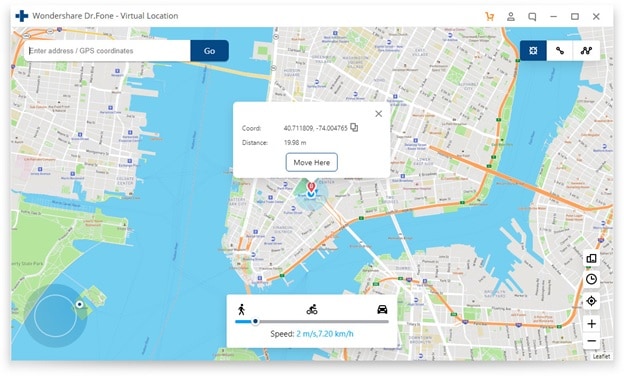
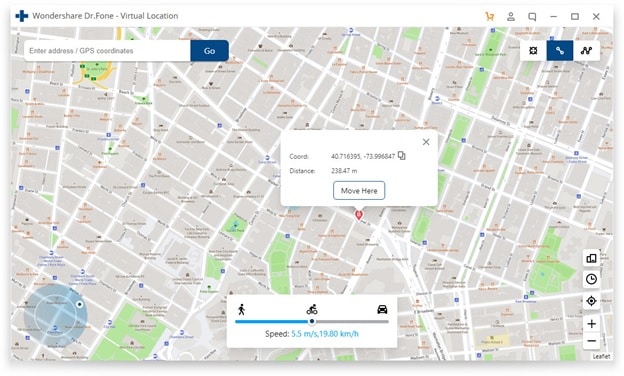
Step 3: Your current location will appear on the PC screen. Switch location by entering the name or address of the place in the field at the upper left corner of the application.

Step 4: The interface below will pop up on your screen. Click on the Move Here icon to teleport to your chosen location.

And now you are good to have one of the strongest Pokemon on your team when fighting against Giovani. Leverage the Dr.Fone- Virtual Location program as it will help you ease the stress of catching stronger Pokemon remotely on your device without jailbreaking it.
How does the stardust trade cost In pokemon go On Oppo A1x 5G?
Pokemon go has been around for a while now and has arisen as one of the most talked-about games in the gaming community. The fact that it is a location-based game and needs you to move around while playing the game makes it further interesting. Trading in Pokemon go is one of the most talked-about features. Today, we will help you explore more about stardust trade costs and how can you easily perform trades! Hang on as we dwell deeper into Pokemon go and trade stardust costs.

Part 1: How does Pokemon trading work?
So as we’ve discussed earlier, Pokemon go trading is one of the most interesting features of the game. So how does this trading work? In Pokemon Go, you can trade pokemon possessed by you with those possessed by your friends if both you and your friend, decide to mutually trade the pokemon with each other! For trading in Pokemon go, there are certain criteria you need to satisfy to qualify for trading in Pokemon go! Given below are the requirements to qualify for trading in Pokemon go
- Be at least level 10
- Be friends with the person you’re trading on Pokemon go
- Be in a radius of 100 m while you’re trading
However, Pokemon go also has levels of friendship and you can trade pokemon of different levels with friends with whom you have different friendship levels. Higher is the friendship level, higher is the level of Pokemon which you can trade. every trade requires you and your partner to spend stardust points. So There are basically 4 levels of friendship in Pokemon go
- Friend
- Good friend
- Ultra friend
- Best friend
The levels of your friendship with a player on Pokemon go increase with the increase in the number of days you stay friends with them. Within a month of friendship, you can become best friends with a player on Pokemon go! You also need stardust points on Pokemon go. So what is stardust trade cost? Before you trade any pokemon you must spend stardust coins. Not having enough stardust trade coins will not allow the trade of pokemon to happen. Hence, you must have enough stardust trade costs.
Part 2: How much stardust do you need in pokemon trading costs?
Trading in Pokemon go is quite complex. This is because the needed Stardust points will be different in every case and will depend on several factors. Factors such as whether you already half got that Pokemon in your pokedesk or not, the friendship level of you and your friend who are interested in trading, or whether the Pokemon is rare or common. Given below are the Stardust trade costs for each Pokemon.
Standard trades
- Good friend:100
- Great friends:80
- Ultra Friends: 8
- Best friend: 4
Shiny or legendary ( caught by you)
- Good Friend: 20,000
- Great Friend: 16,000
- Ultra Friend: 1,600
- Best Friend: 800
Shiny or Legendary ( not caught by you)
- Good Friend: 1,000,000
- Great Friend: 800,000
- Ultra Friend: 80,000
- Best Friend: 40,000
However, this Stardust trade cost may vary according to the friendship levels! Before trading, you must think of the friendship level between you and your friend and also if the Pokemon which has been traded can be evolved through trading. Evolving Pokemon through trading is another beneficial tactic that could benefit you as a player of Pokemon go.
Part 3: Ways to increase stardust in pokemon go?
1. Use Dr.Fone – Virtual Location (iOS/Android)
Do you want to increase your Stardust trade cost in Pokemon go? There is no better way for doing so other than using Dr.Fone - Virtual location (iOS/Android) . Using this will easily help you to catch more Pokemon, as you can fake your location using this app. You can change your location to any given location on the map and catch Pokemons from different regions without having to move around. Doesn’t it sound fun? Catching the rarest Pokemon all by sitting at home!
Teleport to anywhere in the world
Step 1: Firstly, you need to install Dr.Fone- Virtual location (iOS/Android) on your computer(Win/Mac). Then, install and launch the program on your computer. Click on “Virtual Location” from the options on the main interface.
 Glarysoft File Recovery Pro Annually - Helps to recover your lost file/data, even permanently deleted data.
Step 2: Now, you need to connect your iPhone to the PC and click on “Get Started”.
Step 3: A new window would now pop up where you can see your current location. If you are unable to see your current location, then click on “center on” icon at the bottom. Doing so will lead you to show your location on the map.

Step 4: Now click on “Teleport mode” using the button on the top right corner of the window. Enter the place you want your location to be set to and then click on “Go”. Once done the click on “Move Here”. Well, that’s it! We’re done with changing our location to the desired location!
.png) Kanto Player Professional
Kanto Player Professional2. Exchange the gift with friends to level up a friendship
Pokemon go also allows you to send gifts to your game friends and receive gifts from your game friends. Well, this can help both of you grow and progress in the game and can be a helpful trick to increase Stardust!
### 3\. Play the game as much as you canInvesting more and more time on the game will lead you to catching more pokemons which will, in turn, lead to getting more stardust! Hence play it regularly with continuity!
Conclusion
Well, the article did give us a lot of idea about stardust trade cost and how to increase Stardust trade points in Pokemon go. We dwelled more into major facts about the game and learned a lot about it. We also explored what is drfone-Virtual location ( iOS) and how it can help you to teleport from one place to another! Using the app will help you a lot in improving the game and wouldn’t require you to do much! All you’ve to do is teleport from one place to another, catch more and more pokemons and get more stardust! As a player, it shall improve your stats by a huge margin!
All You Need To Know About Mega Greninja For Oppo A1x 5G
Are you a fan of Pokemon Go? Then, you will find this article not only useful but also quite interesting. In case you have never played this game before, then you should know that Pokemon Go is a fantastic augmented reality game.
It requires the use of GPS (Global Positioning System) to track your location. Basically, Pokemon Go is a mobile application which you can easily download from Google Play Store or App Store, and it’s absolutely free. In simple words, you can say that Pokemon Go makes use of mapping technology so as to plot your actual location as you roam around in the streets to catch your favourite Pokemon.
When you play the game, your main goal would be to catch as many Pokemon or fictional characters as you can. Your main task will be to battle your opponents to catch the Pokemon and then train them.
It’s worth mentioning here that this AR-game is absolutely convenient to play. Now, one of the most amazing features that have been added to this game is Mega Evolution. But, unfortunately if you were of the opinion that greninja can mega evolve, then you are completely wrong, in fact you should note that no Kalos pokemon can mega evolve.
Through this article, we will discuss all you need to know about Greninja. So, without any further delay, let’s get started.
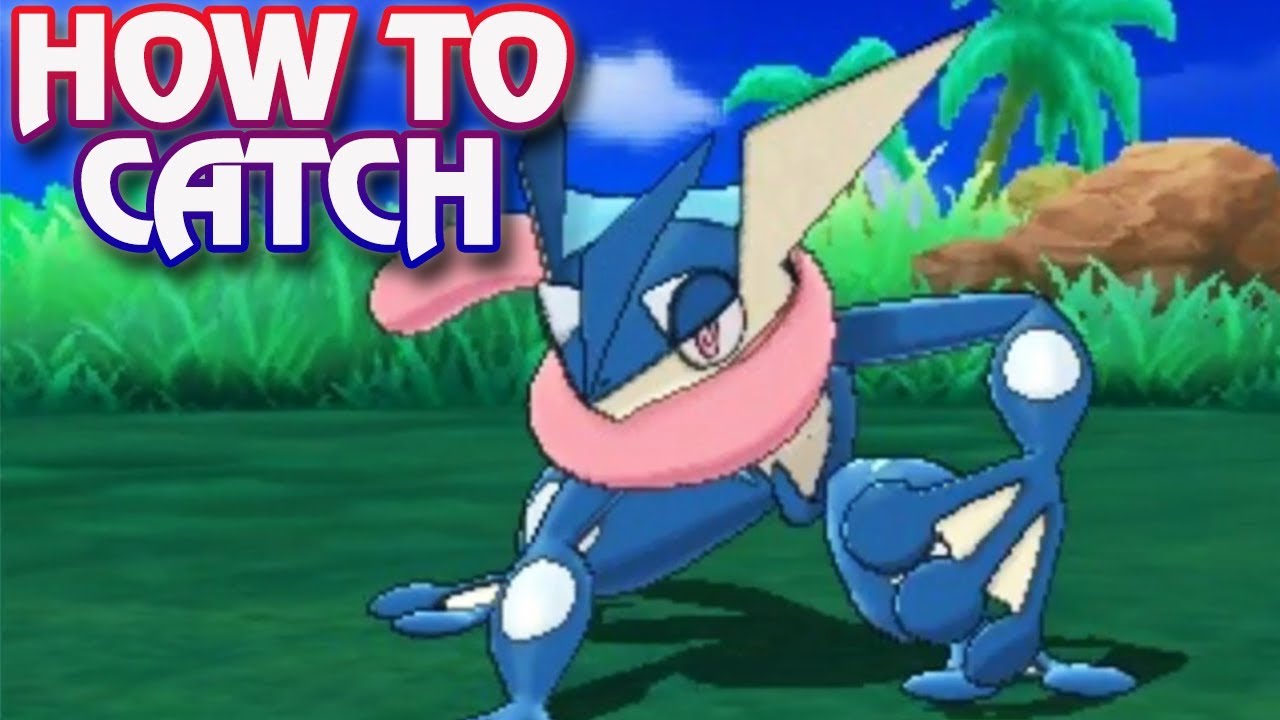
Part 1: Who is Mega greninja?
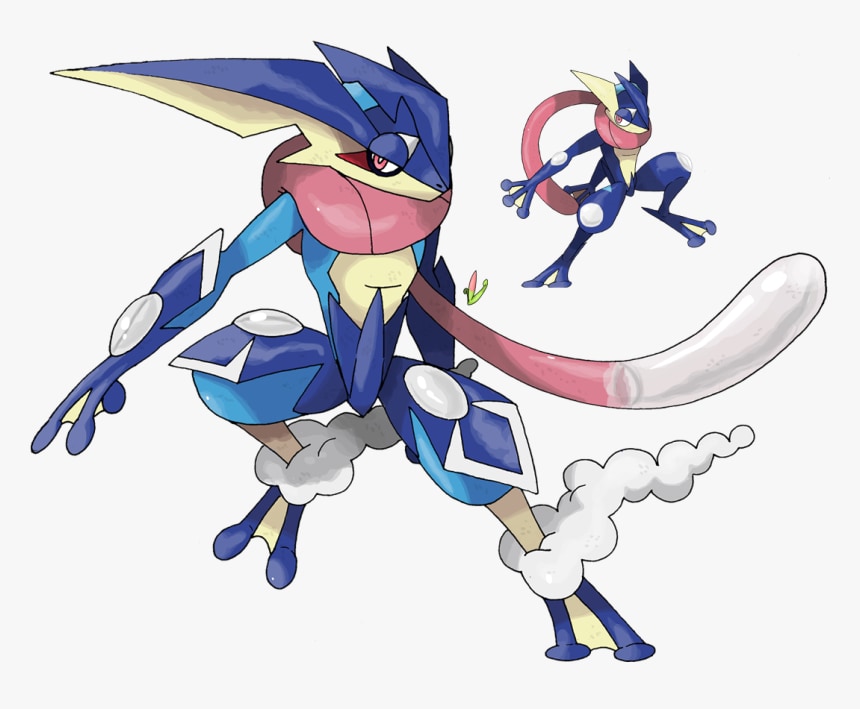
Also, called the Ninja Pokemon, Greninja is Dark/ Water-type pokemon. Some people love to call it a frog-like master. One of the most amazing features of Greninja pokemon is that with its swift movements, you will notice that this pokemon succeeds in confusing its opponents.
It makes use of very sharp throwing stars to slice its enemies. It features Torrent ability.
There are various weaknesses of this pokemon which include “Fighting”, “Grass”, “Electric”, “Bug”, and “Fairy”.Its worth mentioning here that Greninja pokemon is the final evolution of Froakie.
 LYRX is an easy-to-use karaoke software with the professional features karaoke hosts need to perform with precision. LYRX is karaoke show hosting software that supports all standard karaoke file types as well as HD video formats, and it’s truly fun to use.
Part 2: What are the Strengths of Greninja in Pokemon?
Greninja is resistant to “Water”, “Fire”, “Ice”, “Dark”, “Steel” and finally “Ghost”. Also, this pokemon is immune to “Psychic”. This pokemon’s presence can be very intimidating for its opponents, it would not be wrong if we say that Greninja is quite unpredictable. There is no doubt that the counter attacks of Greniaja prove to be very dangerous for its enemies.
Part 3: How to Catch Greninja?
In order to catch Greninja, you will be required to fulfill specific requirements in the Pokemon Sun and Moon Exclusive demo.
First of all, after launching the Pokemon Sun and Moon Demo, go to the Pokemon Center.
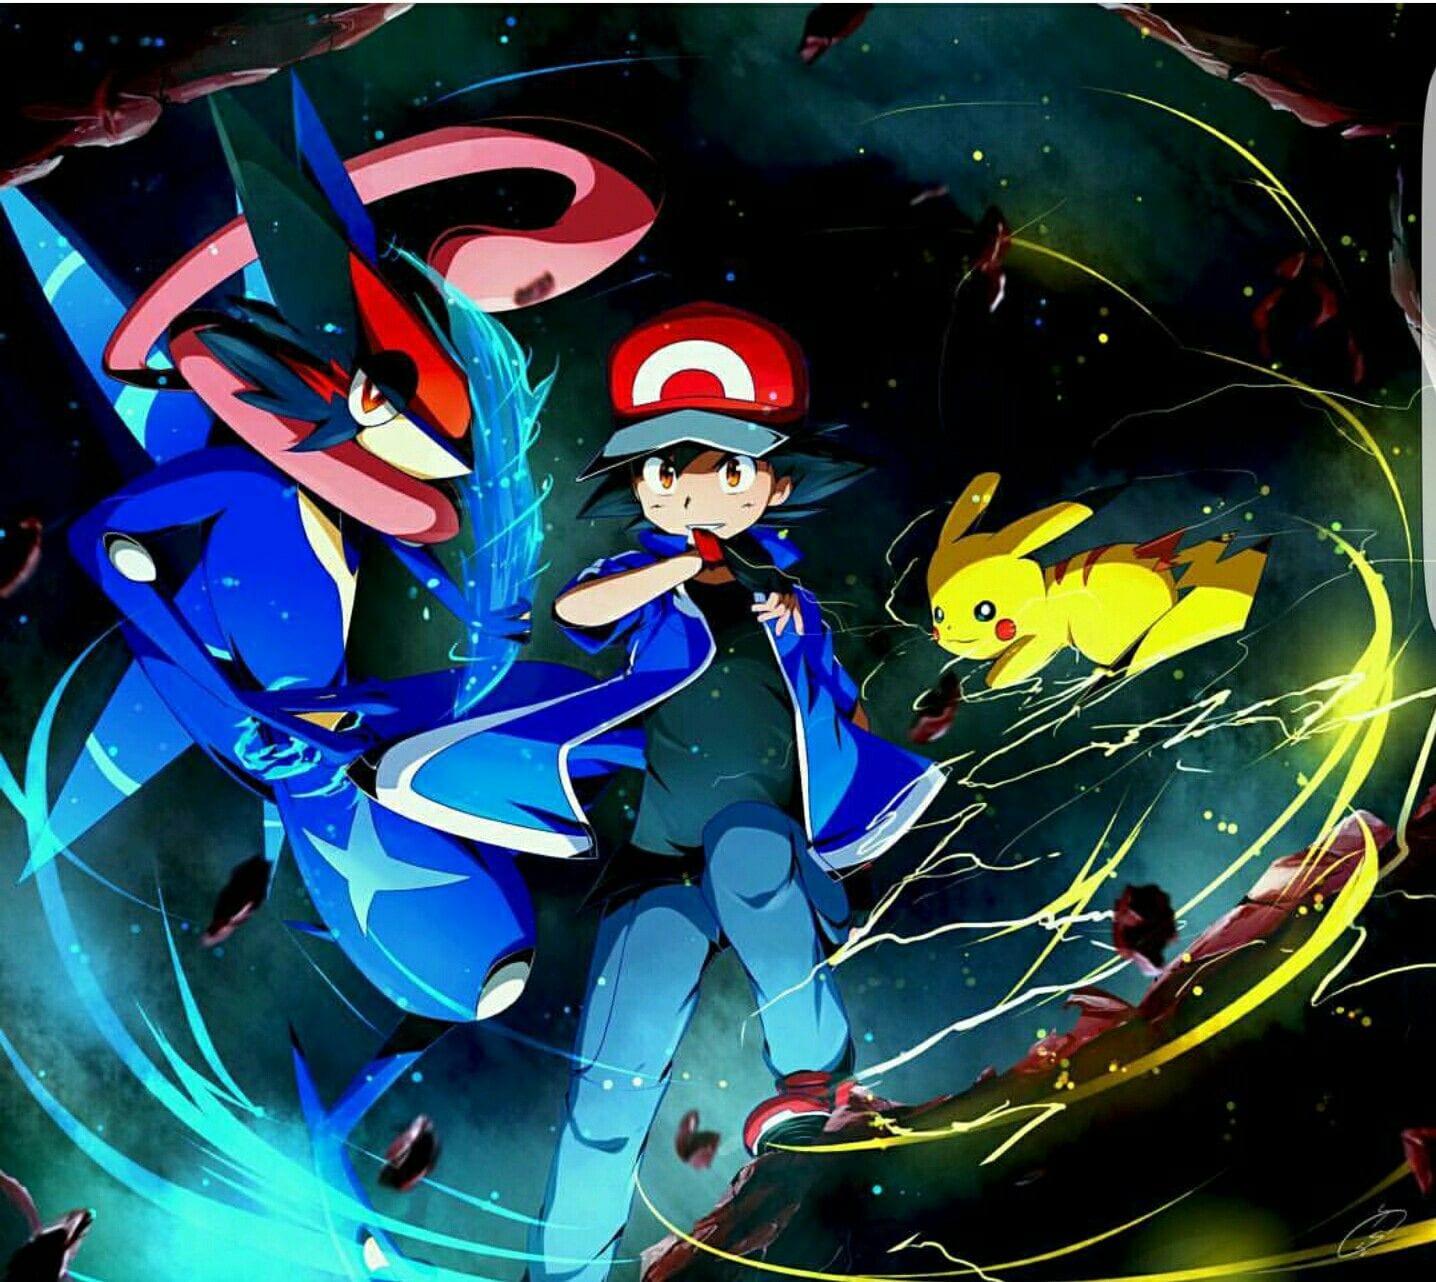
Then, you’ll meet Professor Kukui and when he starts talking to you and asks what you wish to do , choose the option of “bring to full version.After that, you will be required to choose Ash-Greninja. Then, open the full game, finally you have to enter the nearest Pokémon Center.
Catching your favourite Pokemon or to mega evolve a specific pokemon will require you to go to different places or explore different locations, but it’s not always possible to step out of your house, it might be raining, or its night time, in the case, we recommend using software called Dr.Fone(Virtual Location).
With the help of this amazing software, you can teleport to any location or place in the whole without even requiring you to step out of your house.
In order to get started with Dr.Fone, you need to download Dr.Fone(Virtual Location) iOS. Then, you have to install Dr.fone on your smartphone. Finally, you have to launch Dr.Fone (Virtual Location) on your device.
Step 1: You have to tap on “Virtual Location” among the various options that you will notice therein. It’s important to ensure that when you are setting up Dr.Fone on your device, always ensure that your iPhone is connected to the PC. Then, click on “Get Started”.
 Screensaver Factory, Create stunning professional screensavers within minutes. Create screensavers for yourself, for marketing or unlimited royalty-free commercial distribution. Make screensavers from images, video and swf flash, add background music and smooth sprite and transition effects. Screensaver Factory is very easy to use, and it enables you to make self-installing screensaver files and CDs for easy setup and distribution. Screensaver Factory is the most advanced software of its kind.
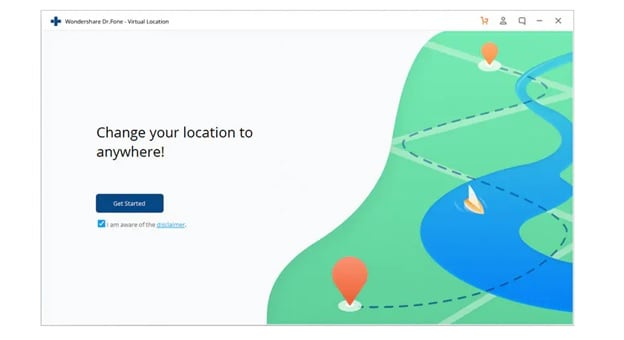
Step 2: If you have executed the prior steps or directions successfully, then you will see a new window that shows your actual location on a map will get displayed on your screen. Now, make sure that your displayed location on moa is accurate, if not, then click on “Center On,” with the help of this, you’ll be able to make your location correct.
Step 3: After all the previous steps, the next step is to click on the “teleport mode” icon, which will be located in the upper-right part. This will activate the teleport mode. After that, you have to enter the name of the location or place where you wish to teleport to in the upper left field. Finally, tap on “Go”. As an example, we are going to enter “Italy”, Rome in the left field.

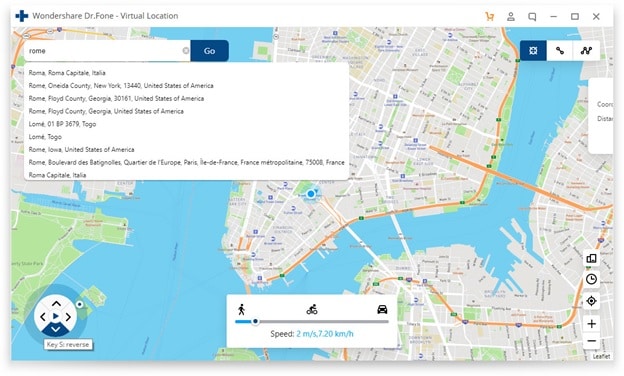
Step 4: In this manner, your location will now be understood or set by the system to “Italy”. You’ll see a pop-up box; you have to just click on “Move On”.
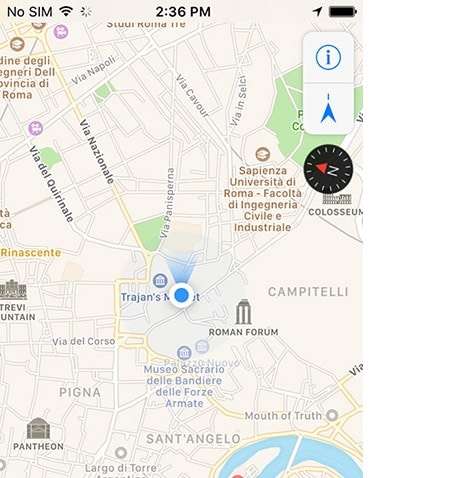
Step 5: If you have followed the directions accurately, your actual location on the map will now be set to “Italy”. You can confirm your location from the Pokemon Go’s map. Finally, below we have provided a screenshot of how the location will be shown.
Step 6: Also, you’ll see that the location on your iPhone would have also changed now to “Italy” or any other place that you have entered earlier.
 PCDJ DEX 3 for Windows & MAC is the total entertainment DJ software solution, offering audio, video, and karaoke mixing ability. Automatic beat-sync, smart looping, 4 decks, DJ MIDI controller support, Karaoke Streaming and much more.
Conclusion
So, we have reached the end of this article. We hope that you found the article quite useful as well as insightful. We also hope that with the help of the setup guide for Dr.Fone you can now easily catch your favourite pokemon by teleporting to different locations across the world. If you have any doubts or suggestions related to this article, then feel free to write it down in the comment section. So, this was all from our side for now. Stay Tuned
- Title: Preparation to Beat Giovani in Pokemon Go For Oppo A1x 5G | Dr.fone
- Author: Lary
- Created at : 2024-07-23 02:20:38
- Updated at : 2024-07-24 02:20:38
- Link: https://android-pokemon-go.techidaily.com/preparation-to-beat-giovani-in-pokemon-go-for-oppo-a1x-5g-drfone-by-drfone-virtual-android/
- License: This work is licensed under CC BY-NC-SA 4.0.